At a Glance
- A 360-mm AIO CPU cooler had to be side-mounted in the new X50 chassis after top-mount clearance vanished
- Relocating the radiator and adding three bottom intake fans dropped CPU temps by six degrees
- Hidden cables and small gaps mar the case’s otherwise sleek aesthetic
- Why it matters: Builders chasing both performance and looks must choose which compromise to accept
The X50 chassis promises roomy water-cooling support, yet a simple component swap turned into a layout puzzle for one builder. Swapping from an older case, they discovered that the power-supply shroud now occupies the traditional top-radiator zone, forcing a rethink of fan and radiator placement.
From Top to Side: The Radiator Relocation
The builder’s existing 360-mm all-in-one loop was designed to mount at the ceiling so the pump stays permanently primed. In the X50, the relocated PSU shelf blocks that route. Instead, the case offers twin 3-fan zones on the front panel and the motherboard tray side.
After testing orientations, the builder:
- Secured the thick radiator vertically on the side bracket
- Filled the floor with three 120-mm intake fans
- Kept the original top exhaust layout unchanged
The upside was immediate: CPU core temperatures fell roughly six degrees Celsius versus the prior open-layout case, helped by a straight shot of cool air from the bottom vents directly into the GPU intake.
Dust, Dogs, and Daily Maintenance
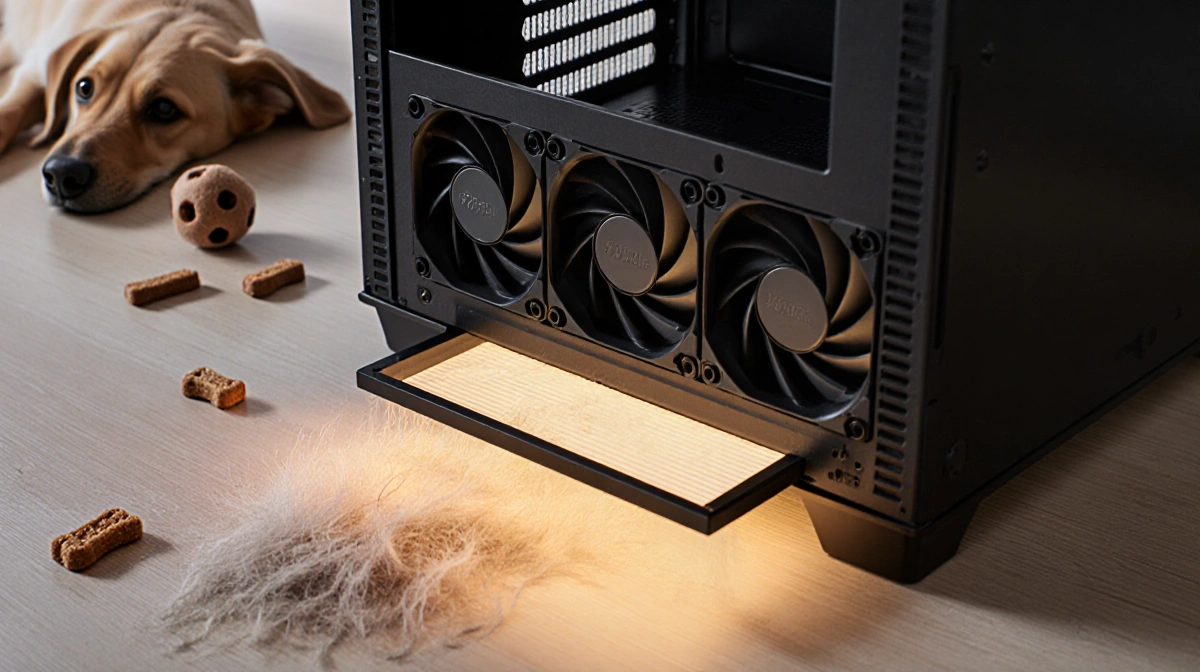
Bottom intake fans pull air-and pet hair-off the floor. The builder, a dog owner, normally avoids this orientation but accepted the trade-off because the X50 ships with a large magnetic dust filter that slides out for quick rinsing. Weekly cleanings have so far prevented fur buildup without tools or disassembly.
Interior Real Estate
Behind the tempered-glass panel, the chassis hides a surprisingly deep cavity in front of the motherboard and along the back side for cable routing. A factory-installed hard-drive cage consumed much of that space. Since storage now rides on two M.2 SSDs screwed to the motherboard, the cage was removed with four thumb screws, freeing room for a fan-and-pump hub.
Tight spots remain:
- A narrow “cable attic” above the PSU for 24-pin and EPS leads
- A shallow channel under the motherboard where front-IO wires must pass
Both areas include rows of hook-and-loop anchors, letting the builder lash down cables so panels close without bulges.
Fit-and-Finish Frustrations
Once powered on, the case’s minimalist exterior draws attention, but small visual flaws became hard to ignore:
- Fan-header bundles, though tidy, remain visible through the motherboard cut-out
- The power-supply fan sits off-center inside a circular vent, leaving a crescent gap ringed by stray cables
Performance stays unaffected, yet the builder notices these gaps every time the tempered-glass side is viewed.
Final Configuration Snapshot
| Component | Location | Notes |
|---|---|---|
| 360-mm Radiator | Side bracket, intake | Dropped CPU temps 6 °C |
| Bottom Fans | Case floor, intake | Magnetic filter for easy cleaning |
| HDD Cage | Removed | Made space for pump controller |
| Top Fans | Roof, exhaust | Factory placement kept |
Key Takeaways
- Cooling performance can improve even when the “ideal” radiator position is blocked-if airflow is re-balanced
- Tool-less dust filters make bottom-intake setups viable for pet owners
- A sleek exterior amplifies small internal cable gaps; plan wire routing before locking panels in place